
TABLE OF CONTENTS
- Starting the Board Room
- Using the Camera and microphones
- Stopping the Board room
- Leave the room in the initial conditions!
Do NEVER unplug any of the cables
Bring your AV adaptor to connect your laptop to the HDMI cable
Starting the Board Room
Turn on the projection and audio
If the touch screen is dark, activate it by touching the screen
Press the ON/OFF symbol -bottom right- to turn on the projection and audio systems
Selecting the source
Select the appropriate source by touching the corresponding button on th top part of the touch screen
Wireless display (default)
HDMI 1 - Labeled cable on the table
HDMI 2 - Labeled cable on the table
PC Symbol - the ISU Desktop computer on the table
Wireless display source (Default)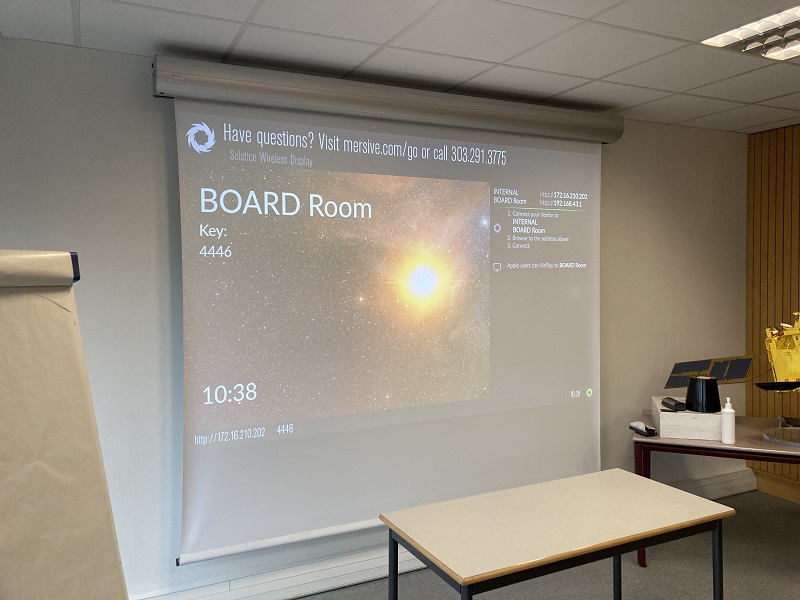
By default the wireless display system is available, Read this document to connect wirelessly with your laptop.
HDMI 1 or 2 source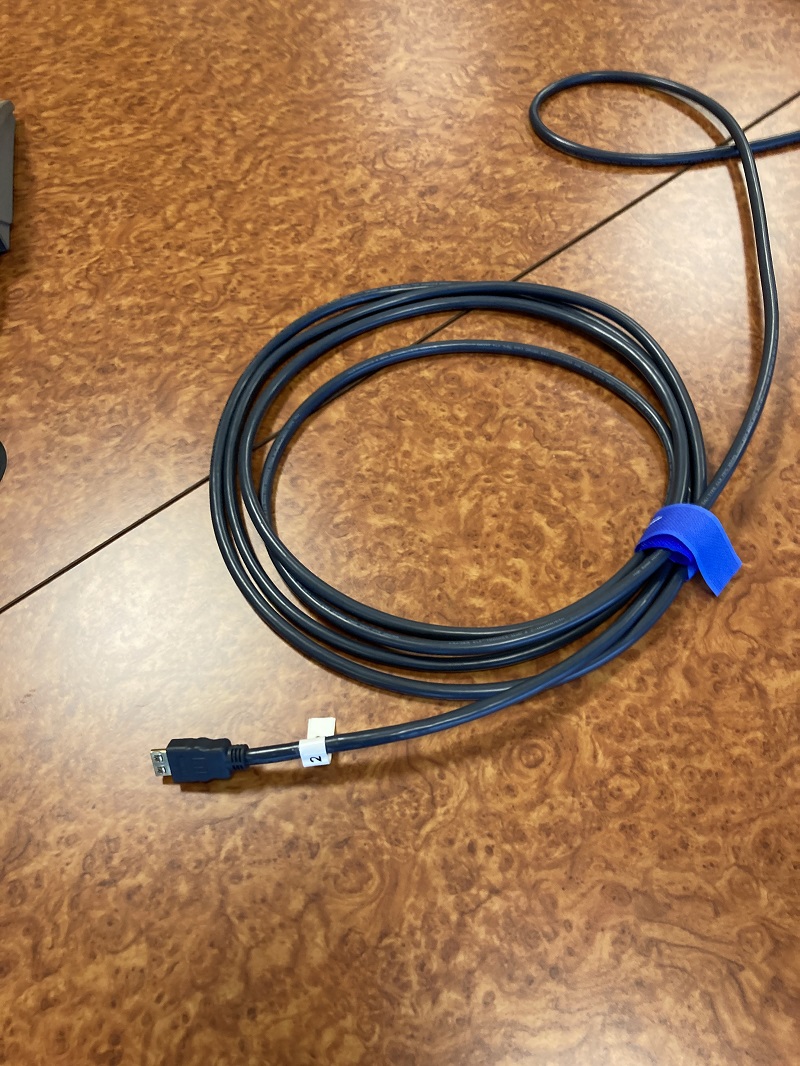
Laptop users should use one of the HDMI cables (labeled HDMI 1 and HDMI 2) available on the table
Select the source HDMI1 or HDMI2 accordingly
Use your video adaptor if needed.
Desktop computer source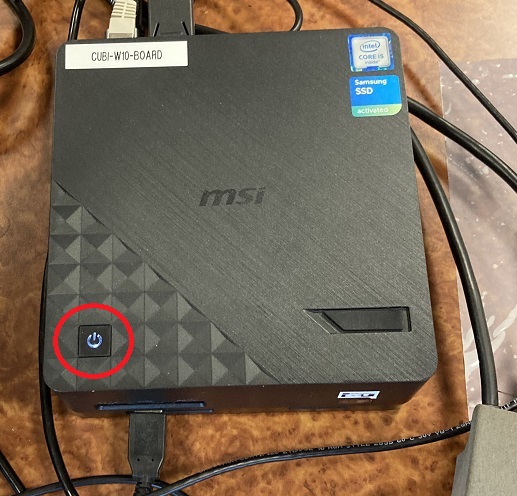
To use the desktop PC, make sure it is turn on (if not press the power button on top)
Login with your ISU Login credentials
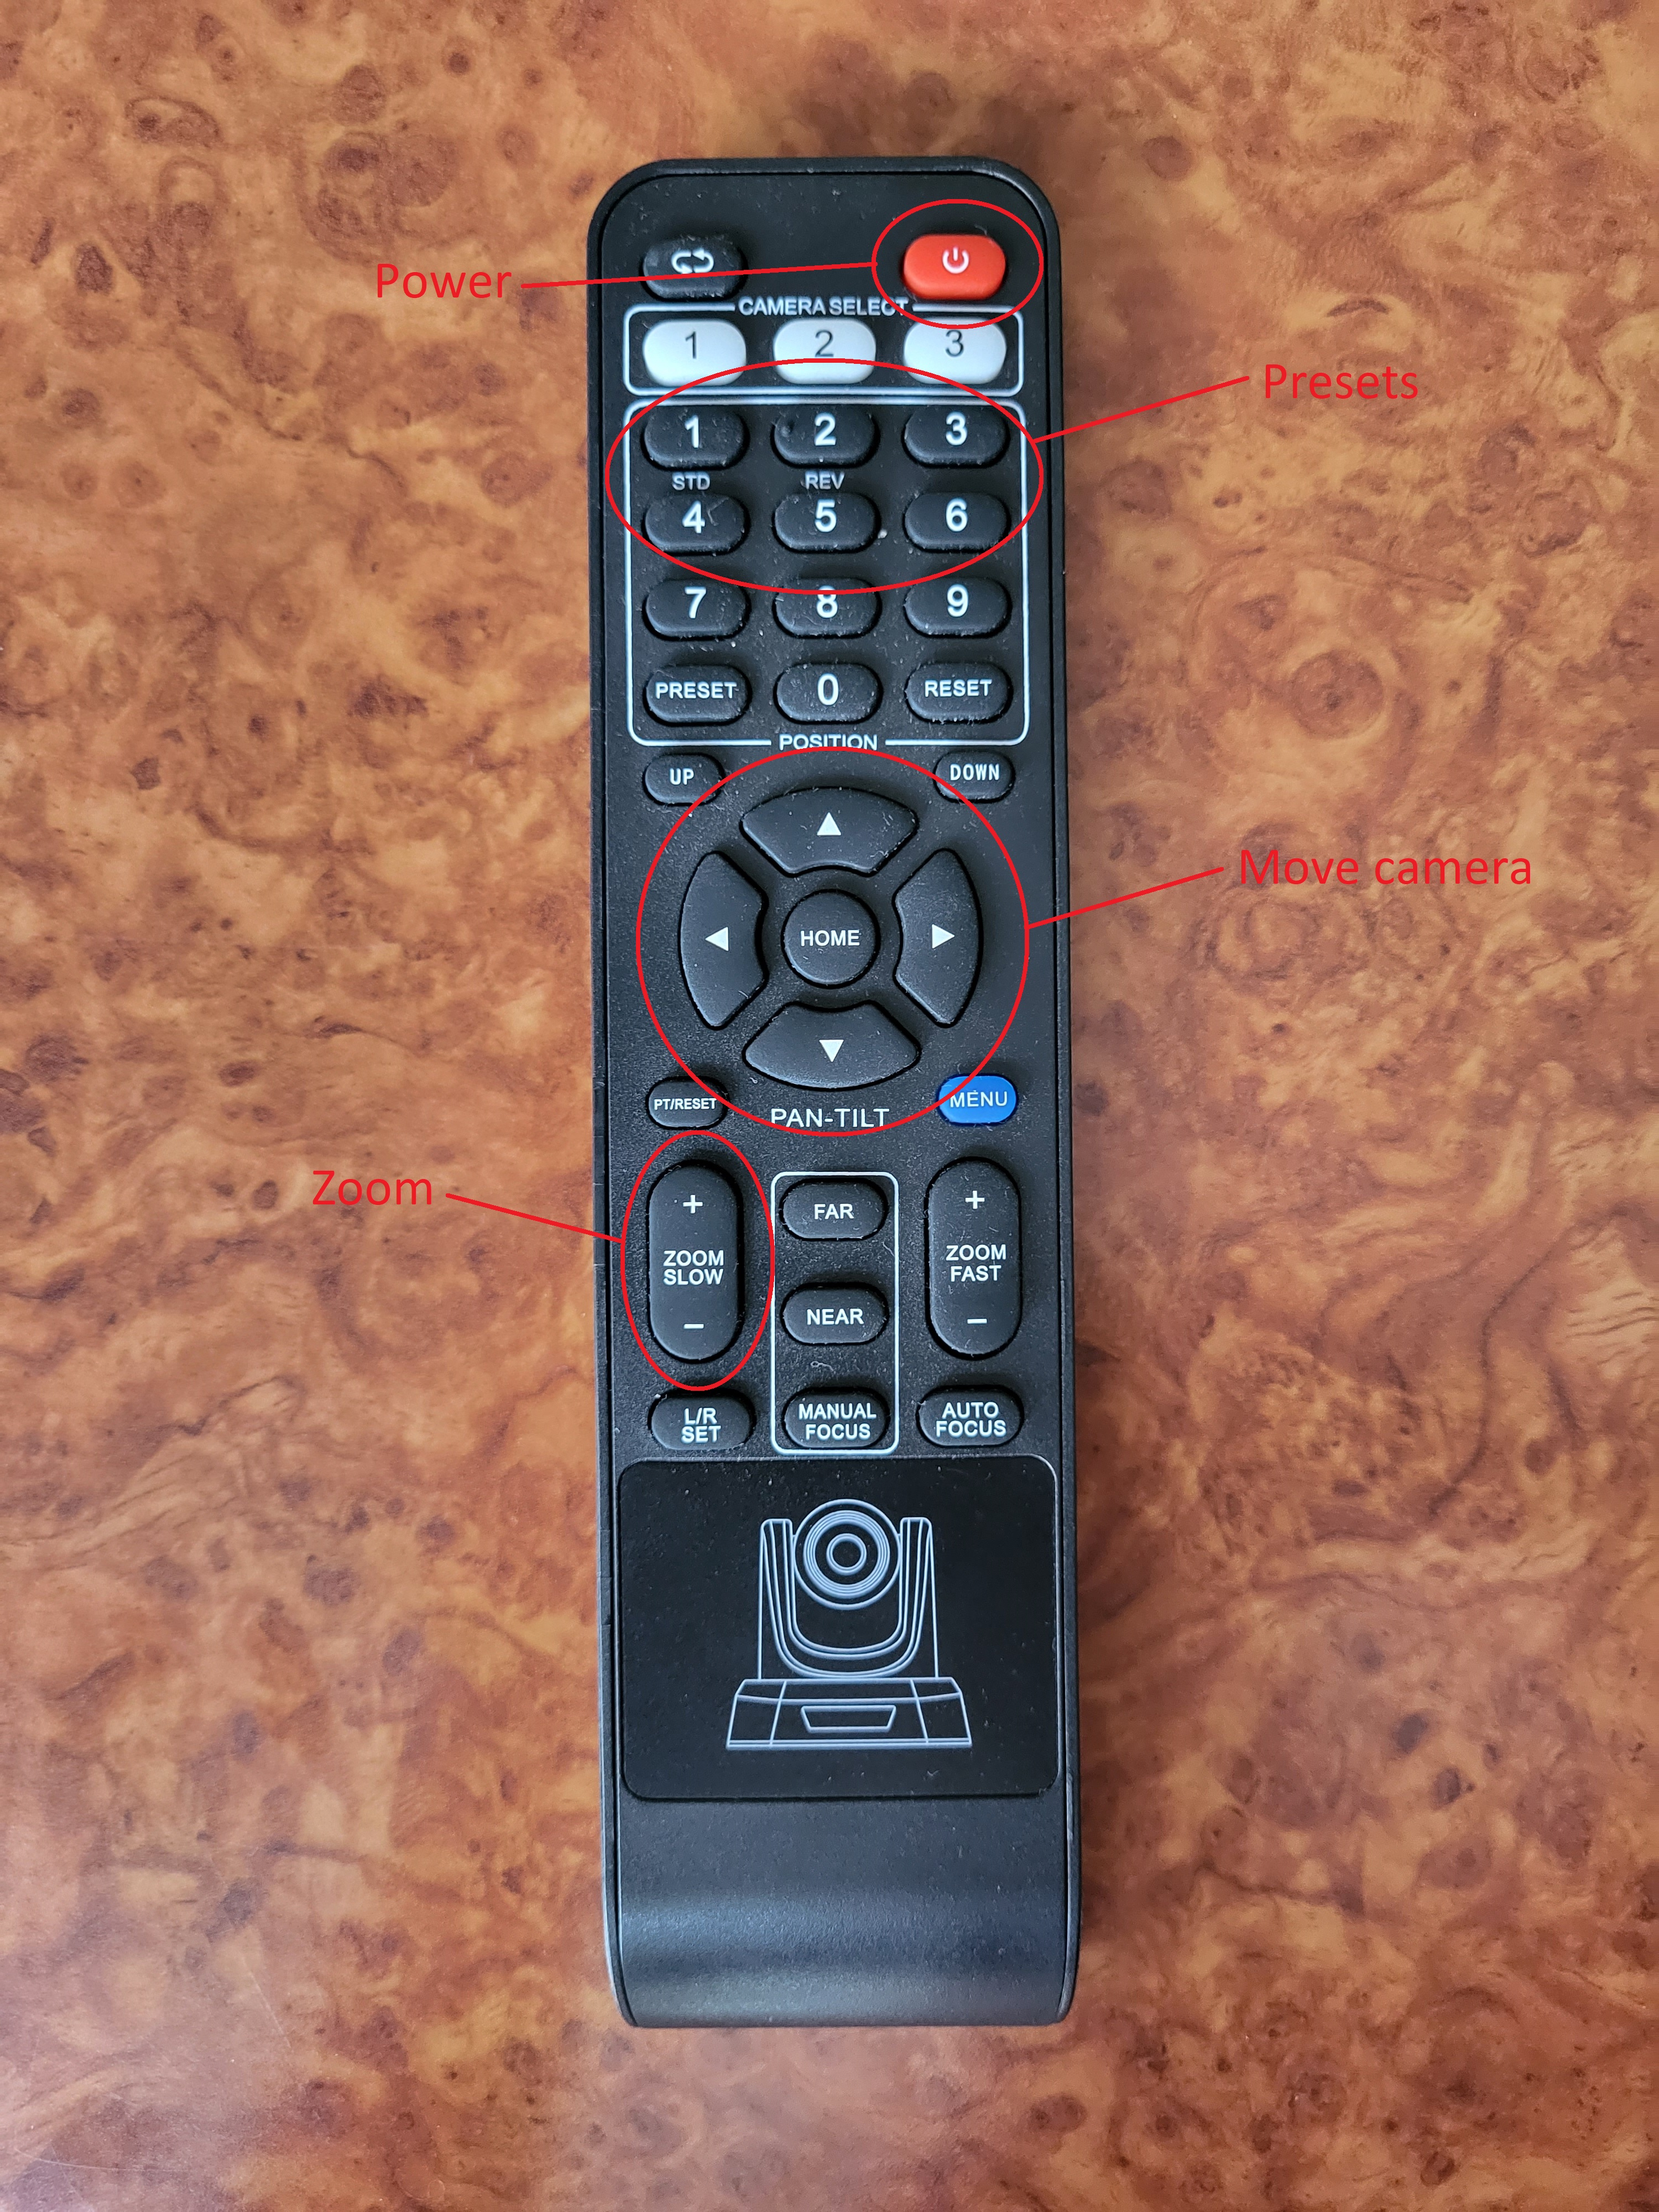
Using the Camera and microphones
The camera and the microphones are connected to the desktop PC (DO NOT UNPLUG)
The camera should display a blue light (if not check power connection and press the power button on the remote) that you can also use to control the camera
IMPORTANT: You cannot use the camera and the desk microphones from your laptop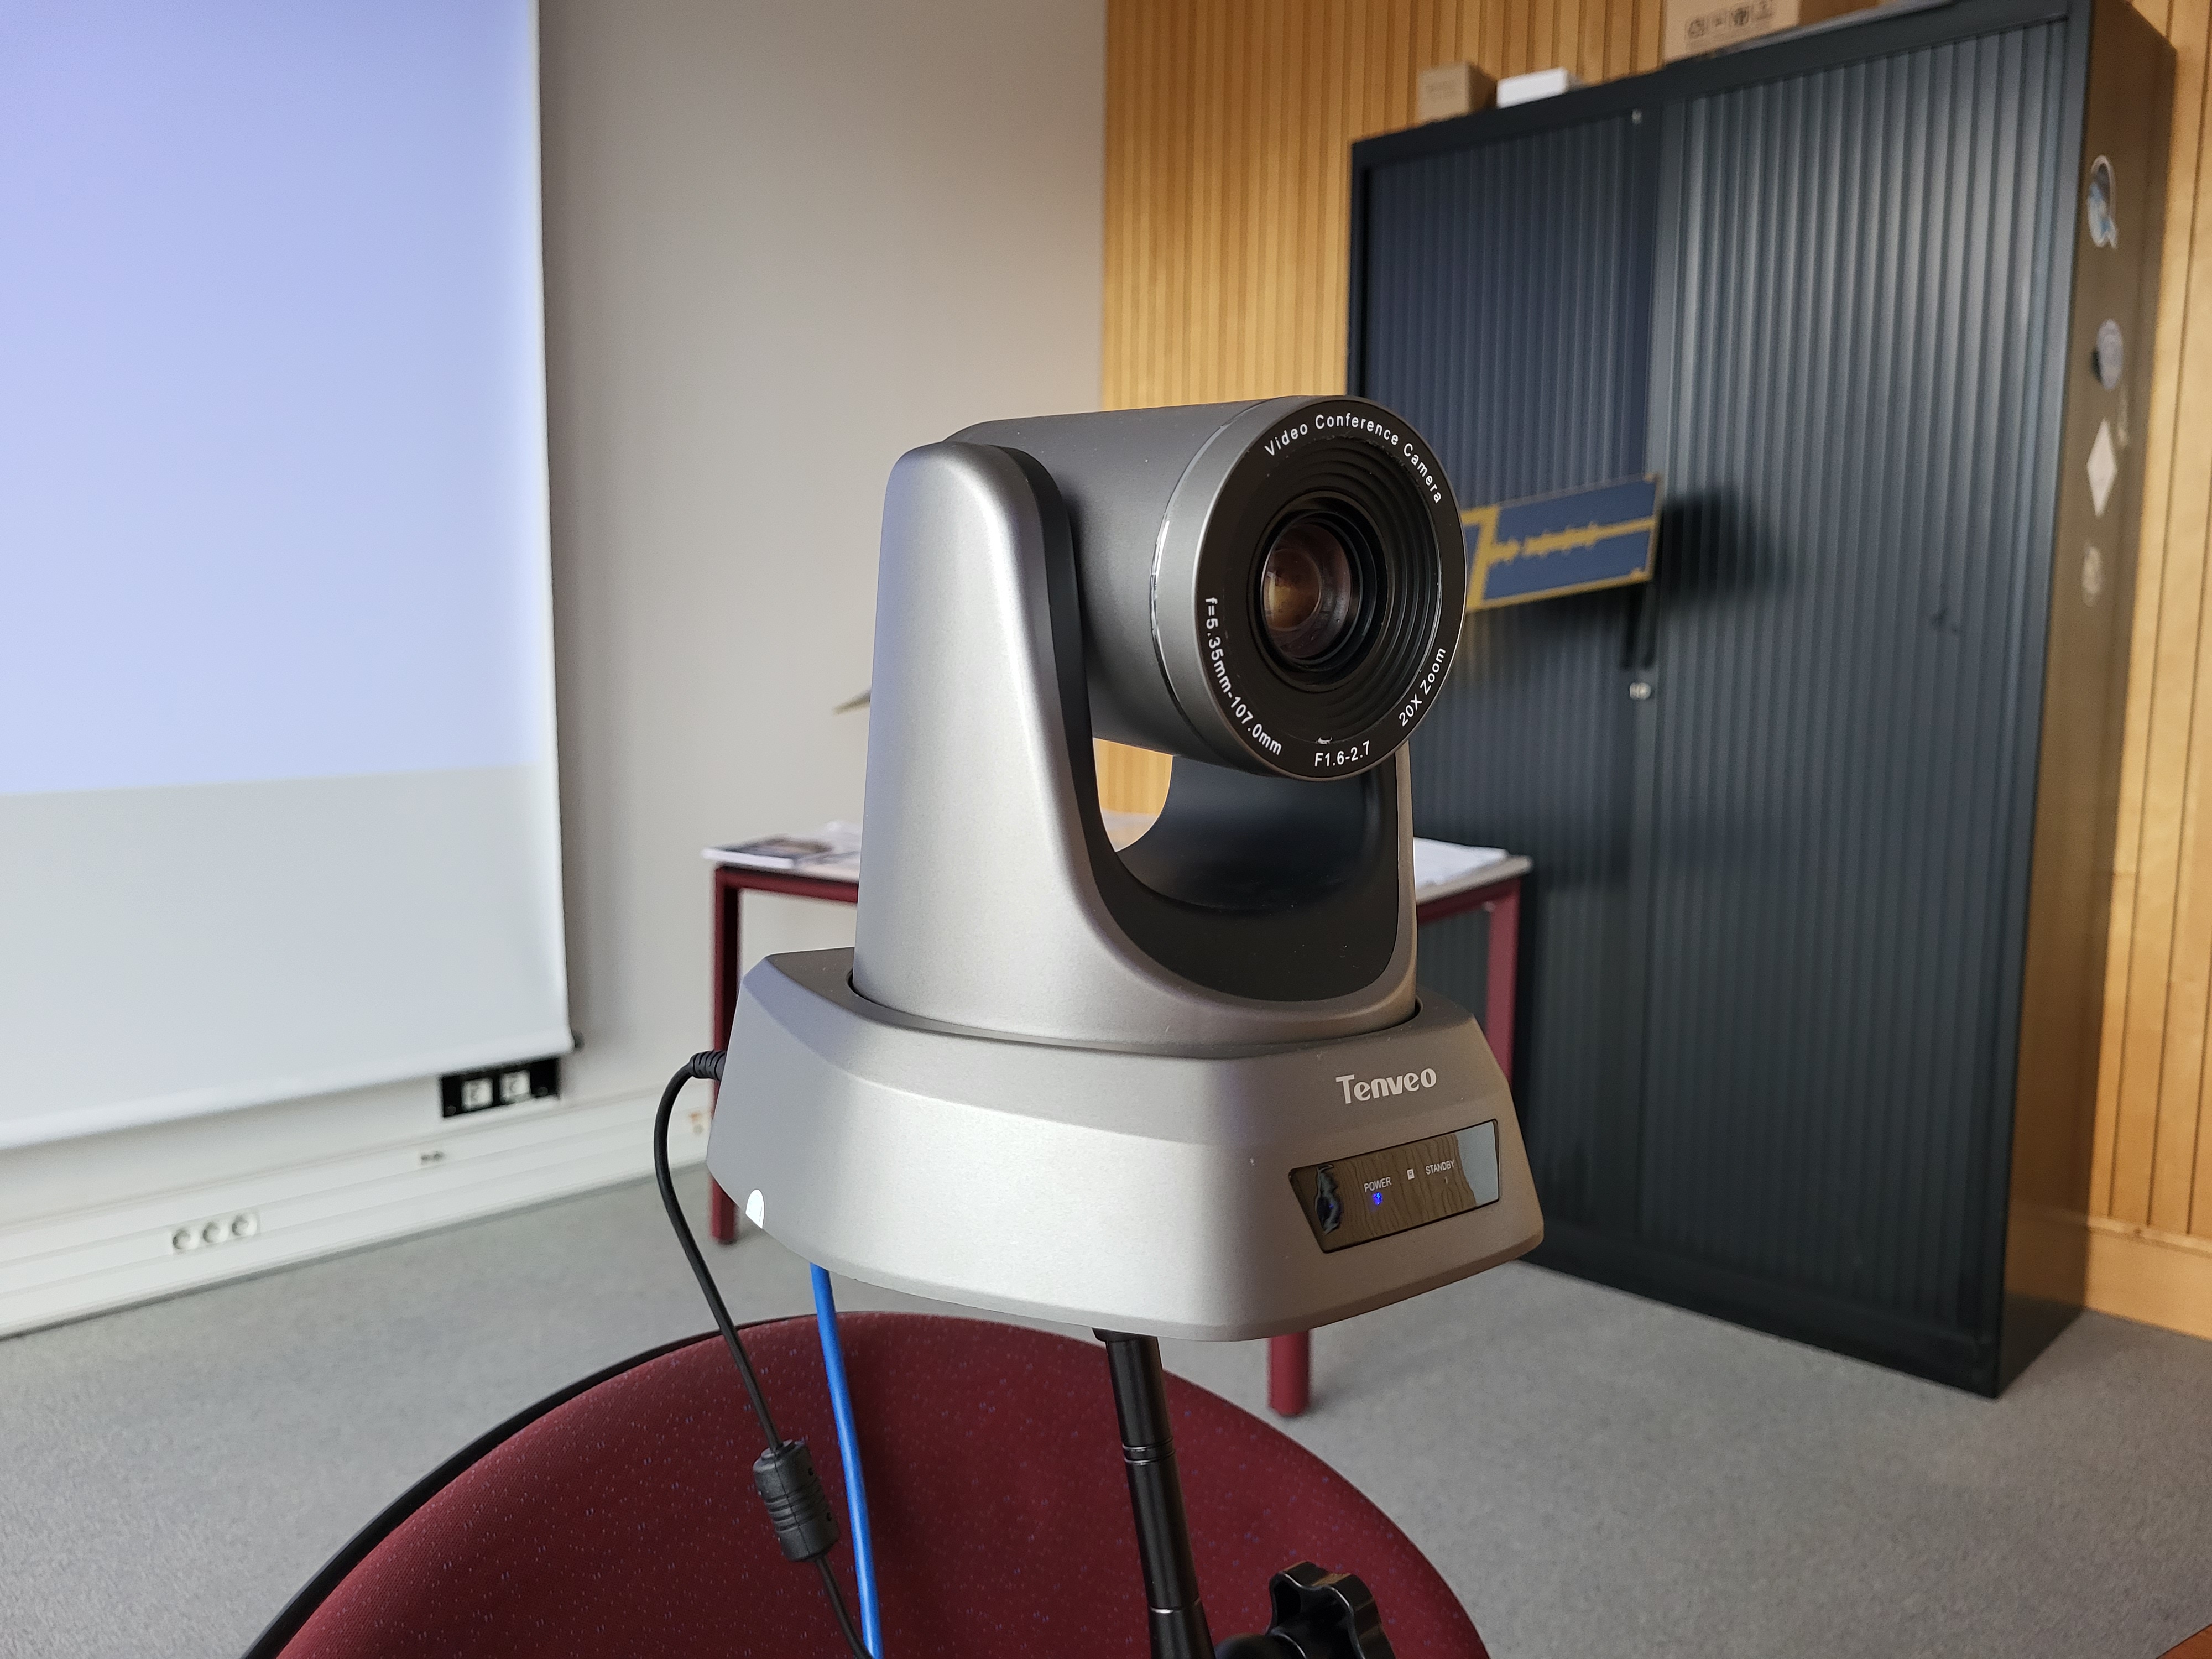
Audio/Video Settings
Start your video conferencing software (Zoom - Teams - Meet - ...)
Zoom users should connect with the ISU@Live account. Read the Support document.
MS Teams users should connect with the ISU@Live account. Read the Support document.
Use the Test Audio settings of your conferencing App.
Checking the settings (see example for Zoom)
Select according to the ticked names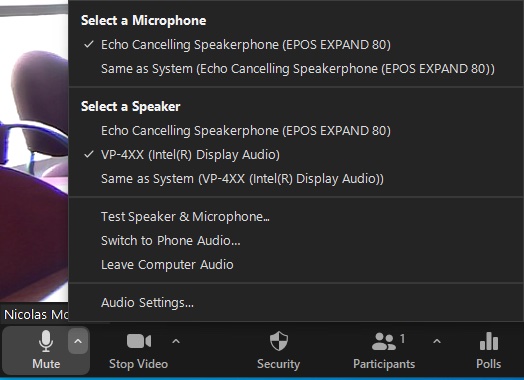
Audio selection:
- Microphone: Echo Cancelling Speakerphone (EPOS EXPAND 80))
- Speaker: VP-4XX (Intel(R) Display Audio)
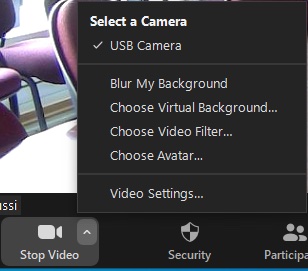
Video selection:
Camera: USB Camera
If you are using another conferencing software, the audio and video settings are the same selections.
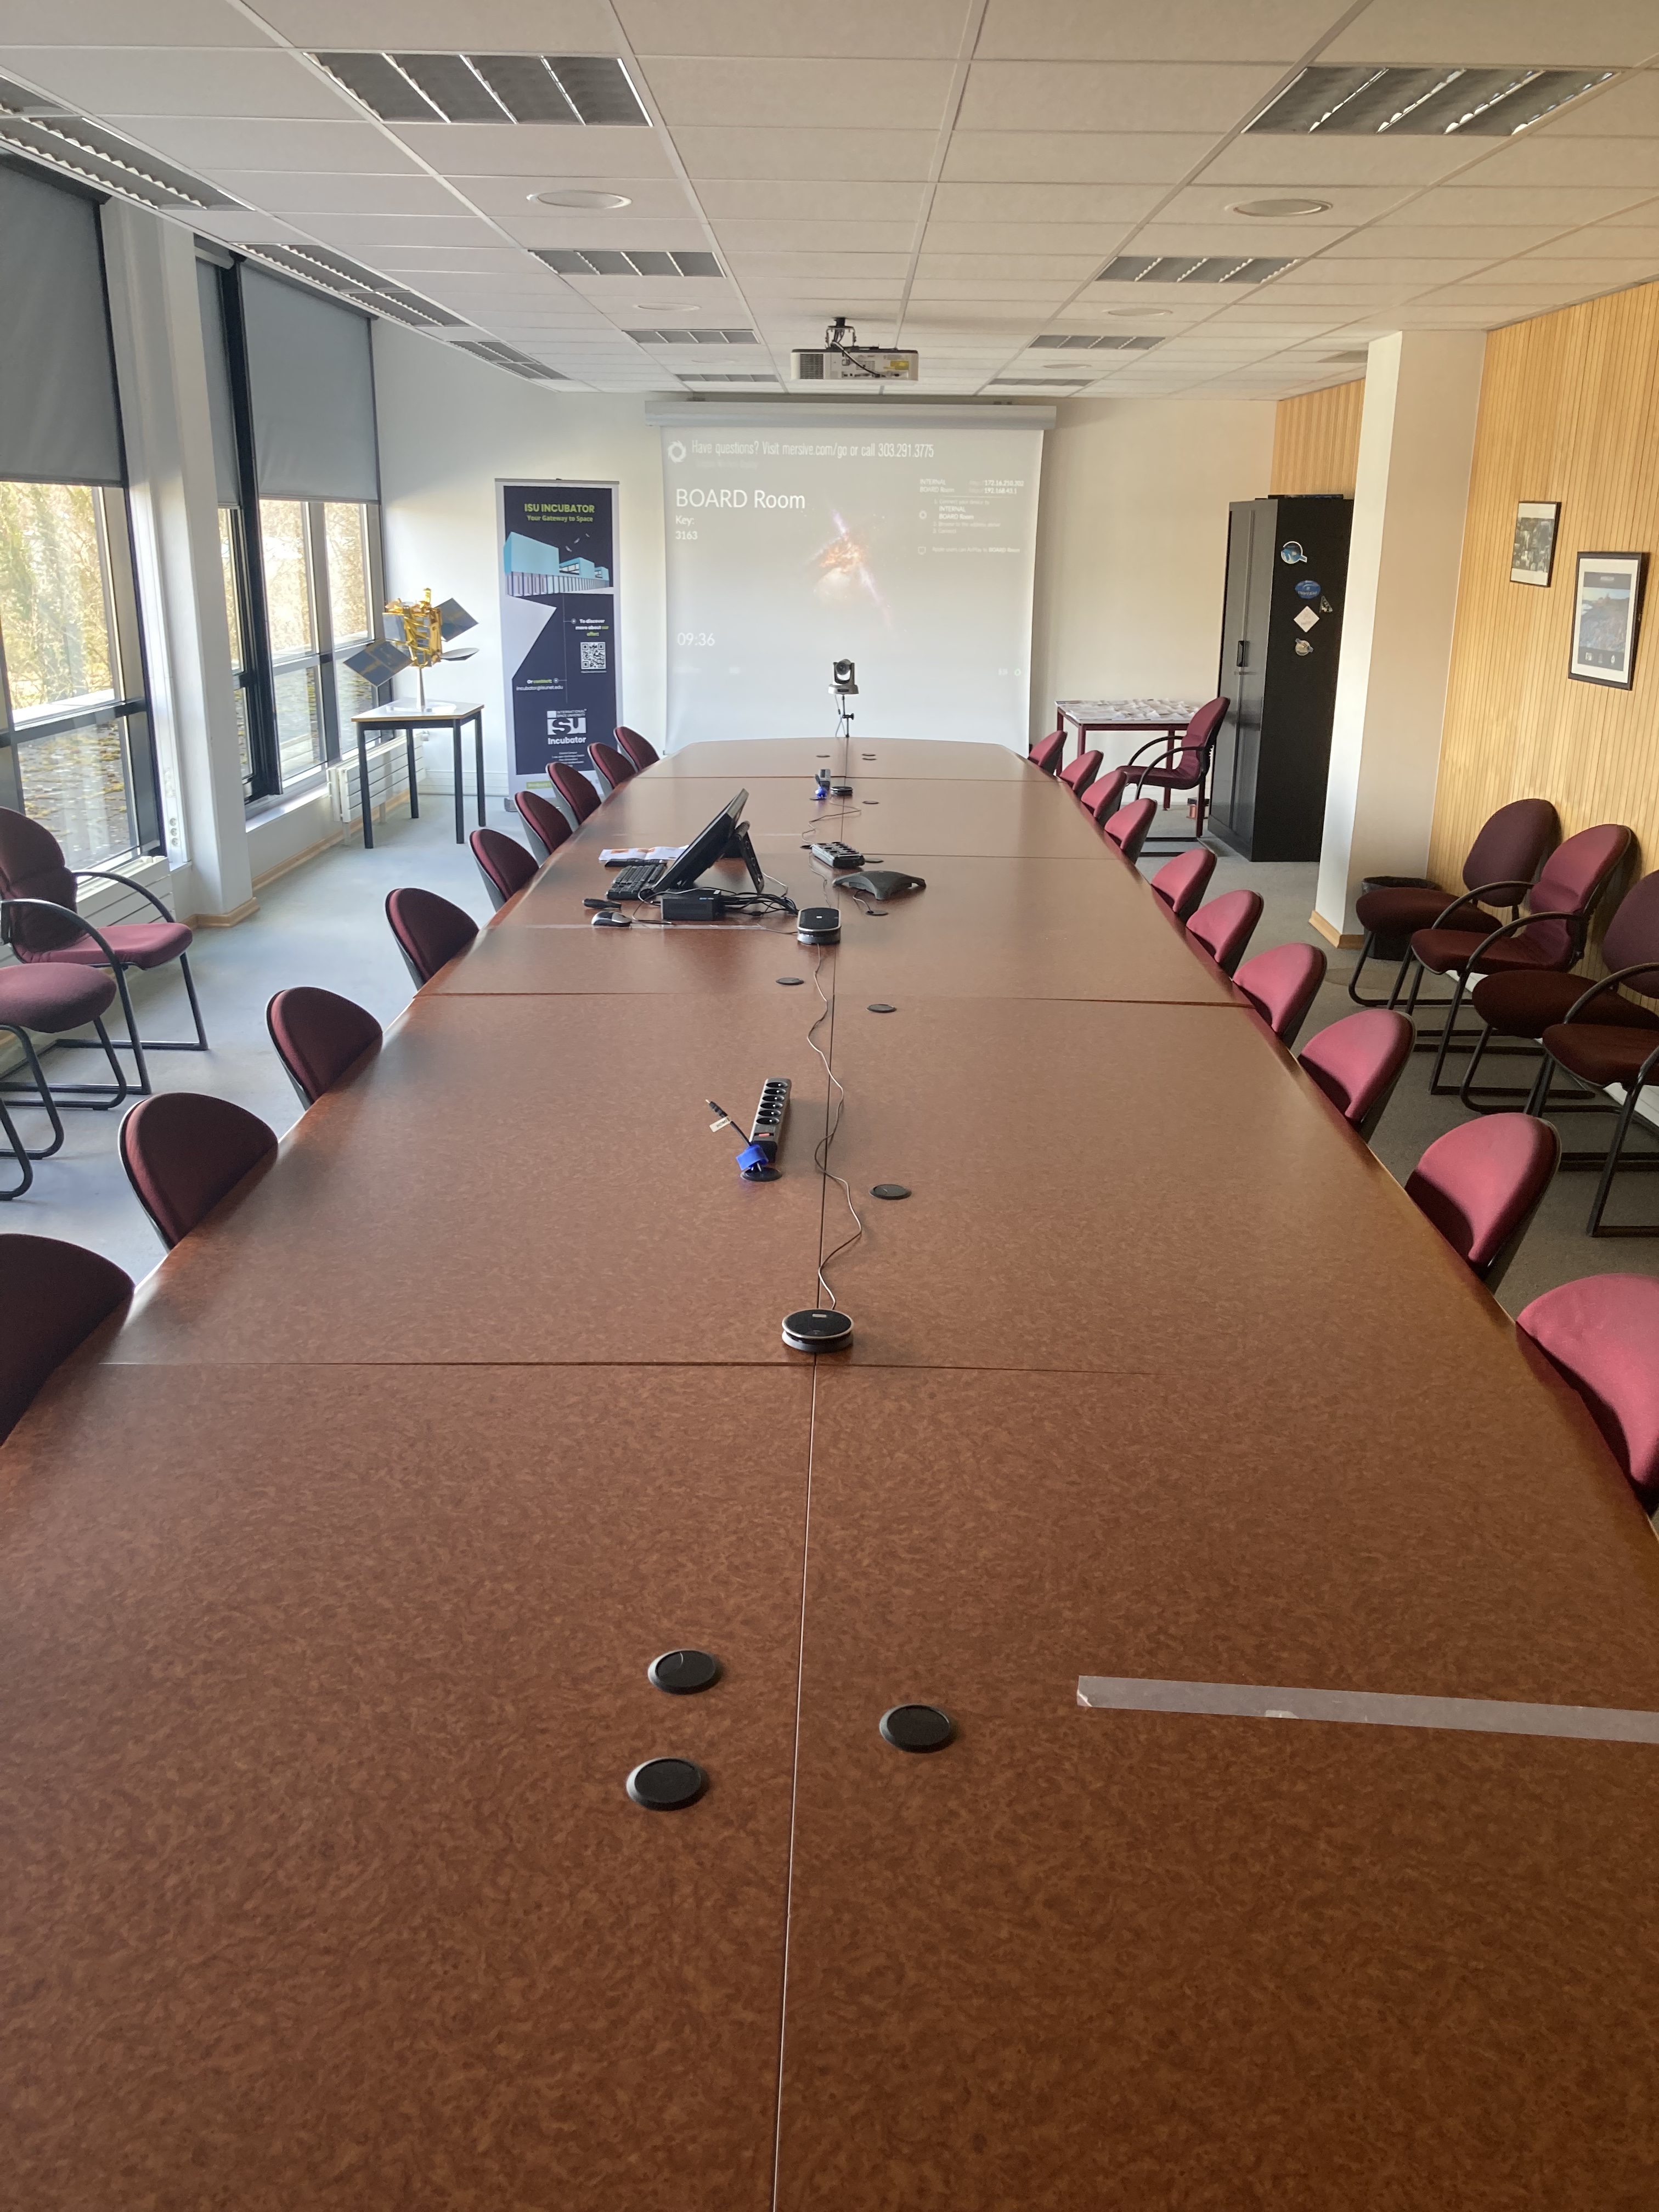
Microphones
3 omni-directional microphones are distributed on the table. All microphones are "open" by default (green light).
Stopping the Board room
Press the OFF button - bottom right - for at least 3 seconds or until the projection screen go's up.
IMPORTANT REMINDERS:
- Bring you HDMI adapter if needed
- Do NEVER unplug anything
Leave the room in the initial conditions!
Was this article helpful?
That’s Great!
Thank you for your feedback
Sorry! We couldn't be helpful
Thank you for your feedback
Feedback sent
We appreciate your effort and will try to fix the article